Tuesday, January 14, 2025

Chile Relleno Breakfast Casserole

A woman in my ward, Heidi Madsen, made this breakfast casserole for our ward Christmas breakfast. It is possibly my favorite breakfast casserole I have ever eaten! It is vegetarian which could be especially good for some, and so flavorful. 

Chile Relleno Breakfast Casserole

4 eggs
1 1/2 cups milk
2 tablespoons flour
1/2 teaspoon pepper
1/4 teaspoon salt
3 7 oz. cans whole green chiles (split and seeds cleaned out)
4 cups shredded cheddar
4 cups shredded jack cheese

Lightly grease 9x13" glass baking dish. Beat first 5 ingredients to blend. Arrange chiles from 1 can in prepared dish, covering bottom completely. Sprinkle with 1/3 of each cheese. Repeat layering twice. Pour egg mixture over cheese. Let casserole stand for 30 minutes. 

Preheat oven to 350. Bake until casserole is slightly puffed in center and golden brown on edges, about 45 minutes. Cool 20 minutes. Garnish with any of the following: diced tomato, avocado, onion, salsa, sour cream, or chives.

Saturday, September 21, 2024

Roasted potatoes and green beans with pesto

 My family and my kids friends who came over all loved this side dish, and it was incredibly easy to make. I served it with Trader Joe's pesto chicken breast. I am pretty sure that dinner combination will be a new staple in our household!

Ingredients:

  • 2 pounds (or so) baby potatoes or other potatoes
  • 8-12 ounces green beans
  • 4 tbsp. pesto
  • salt and pepper, to taste

Instructions:

  1. Preheat the oven to 425.
  2. Wash potatoes and cut into about 1 inch pieces.
  3. Put potatoes into a bowl. Add 2 tbsp pesto and a good pinch or two of salt. If your family likes it, add pepper to taste as well. Mix it up until all of the potatoes are coated.
  4. Spread the potatoes onto a baking sheet. Cook for 15 minutes.
  5. While the potatoes are in the oven, trim the green beans. Put them in a bowl and add the other 2 tbsp of pesto, plus the salt and pepper to taste. Mix.
  6. Pull the potatoes out after they have been cooking 15 minutes. Flip them all with a spatula. Add the green beans to the pan, and return it to the oven. 
  7. Cook for about 15 minutes more, or until the green beans seem to be done. 

Sunday, February 11, 2024

Triple Berry Pie


Mom and I made this pie from Tastes Better From Scratch together.  Yum!

Ingredients

  • homemade pie crust for a 9'' deep dish pan. This recipe makes 2 crusts: one for the bottom and one for the to
  • 7 cups fresh or frozen raspberries, blueberries and blackberries about 2 1/3 cups of each type of berry*
  • 1 cup granulated sugar (plus a little extra to sprinkle on top of the pie)
  • 1 Tablespoon lemon juice
  • 4 Tablespoons cornstarch
  • 2 Tablespoons butter
  • 1 large egg white beaten with a fork

Instructions

  • Cook berries: Add berries, sugar and lemon juice to a large saucepan over medium heat. 
  • Simmer, until warm and juicy, about 5-10 minutes, gently stirring occasionally. (You can taste it at this point and see if it's sweet enough for your liking. I don't like to make mine too sweet, but if you want it sweeter you can add 1/4 cup more sugar.)
  • Thicken filling: Spoon out about 1/2 cup of the juice from the pan into a bowl. Stir cornstarch into the juice until smooth. 
  • Bring pot of berries back to a simmer and slowly pour in the cornstarch. Gently stir mixture (being careful not to mash the berries), until thickened, about 2-5 minutes.
  • Cool and add to pie shell. Remove from heat and stir in the butter. Allow to cool for 15 minutes. Pour mixture into unbaked pie shell (in a 9 in deep dish pan).
  • Add lattice top or a whole top with holes pricked on top for steam to escape. (See directions for lattice crust below).
  • Pinch the edges of the top and bottom pie crusts together and crimp the edge, if you like. Brush a thin layer of beaten egg white over the top of the pie and sprinkle lightly with sugar. 
  • Bake at 400 degrees F for 40-45 minutes. Check it after about 25 minutes and place a piece of tinfoil over it if the top crust is getting too brown. 
  • Remove to a wire cooling rack and allow to cool for several hours. Once cooled completely, you can cut into it or cover it and refrigerate it overnight to serve the next day.

Mom's Amazing Pie Crust

 Paula's Pecan Pie

aka: Grandpa Ballou's pie crust!!

1 cup flour

Scant ½ cup Crisco (shortening)

½ tsp. salt

¼ cup COLD water minus 1/2 TB (only use as much as you need, which may be less than this)

1/2 TB chilled white vinegar


Put flour and salt in bowl.  Mix with a fork.  Using your fingers “cut” the shortening into the flour by running the flour and shortening together between your thumb and fingers of one hand until the mixture looks like small peas.  You can also do this using a pastry cutter or the Bosch with the wire whisks. Add the water one Tablespoon at a time moving the flour/shortening mixture around with a fork until it sticks together.  Put the dough into a ball and place it on a lightly floured surface.  Roll out the dough to fit a 8-9” pie tin.  If you are going to bake the pie with a filling in it, pour the filling in and bake.  If you are going to bake the pie crust FIRST and then fill with a pudding filling, bake the pie crust at 425 for exactly 10 minutes.

 This recipe makes one bottom crust.  If you would like a top crust, you need to double it.

THIS IS GRANDPA BALLOU’S PIE CRUST RECIPE!!!!!

Wednesday, January 31, 2024

Kalua Pork in a Smoker

I know not everyone here has a smoker, but I needed to record how I made this somewhere so I can do it again! This will be something I will be making over and over again. For those without a smoker, the following link is to a slow cooker recipe for kalua pork that I have used which has also been delicious. 

Slow Cooker Kalua Pig

Ingredients:

  • 7-10 pound bone in pork shoulder
  • 2 tablespoons pink or red coarse Hawaiian sea salt (Alaea sea salt. You can order this on amazon if you can't find it elsewhere. Use about 3/4 tsp per each pound of meat)
  • Banana leaves (you can find these in the frozen section of most Asian markets)

  1. Fire up your smoker to 250, preferably with a mix of mesquite and cherry woods. (I did 250 this time but different recipes went up to 300, so if you need it to cook more quickly set it to 275 or 300).
  2. Remove the pork from the packaging and wipe it down with a paper towel. Season each of the sides with the Hawaiian sea salt, and pat into the meat.
  3. Place the pork in the smoker, fat side up, and smoke for about 2 hours.
  4. Set overlapping banana leaves on the counter large enough to wrap around your pork shoulder. Remove the pork from the smoker and place it in the center of the banana leaves. Wrap the pork tightly in the banana leaves and tie them in place with kitchen twine. 
  5. Place the wrapped pork in a disposable pan and return the pork back to the smoker. Continue smoking for another 5-9 hours (the larger the roast, the longer the cook time), or until the temperature of the pork is at least 200 degrees F.
  6. Remove the pork from the smoker and allow it to rest from 30-60 minutes. 
  7. Drain the liquid and shred the pork. Taste, and feel free to serve as it is or add back in some of the liquid if needed to add in more moisture or salt flavor. 
  8. Enjoy what all of my children said was the best pork they had ever tasted. :)
Note: The recipes said the Hawaiian salt gives it a unique and traditional flavor, but you can use regular coarse sea salt if you are in a pinch. Also feel free to skip the smoking without the banana leaves step if you just want to put it in once and not have to do anything with it again until it is done. For my 7 pound shoulder I cooked it for a total of 8.5 hours at 250 for it to get to the right temperature. I found a Traeger recipe that said to cook a 7 pound pork shoulder roast at 300 for 5-6 hours, so higher temp will get done quicker and I am sure will still be delicious!

Friday, December 15, 2023

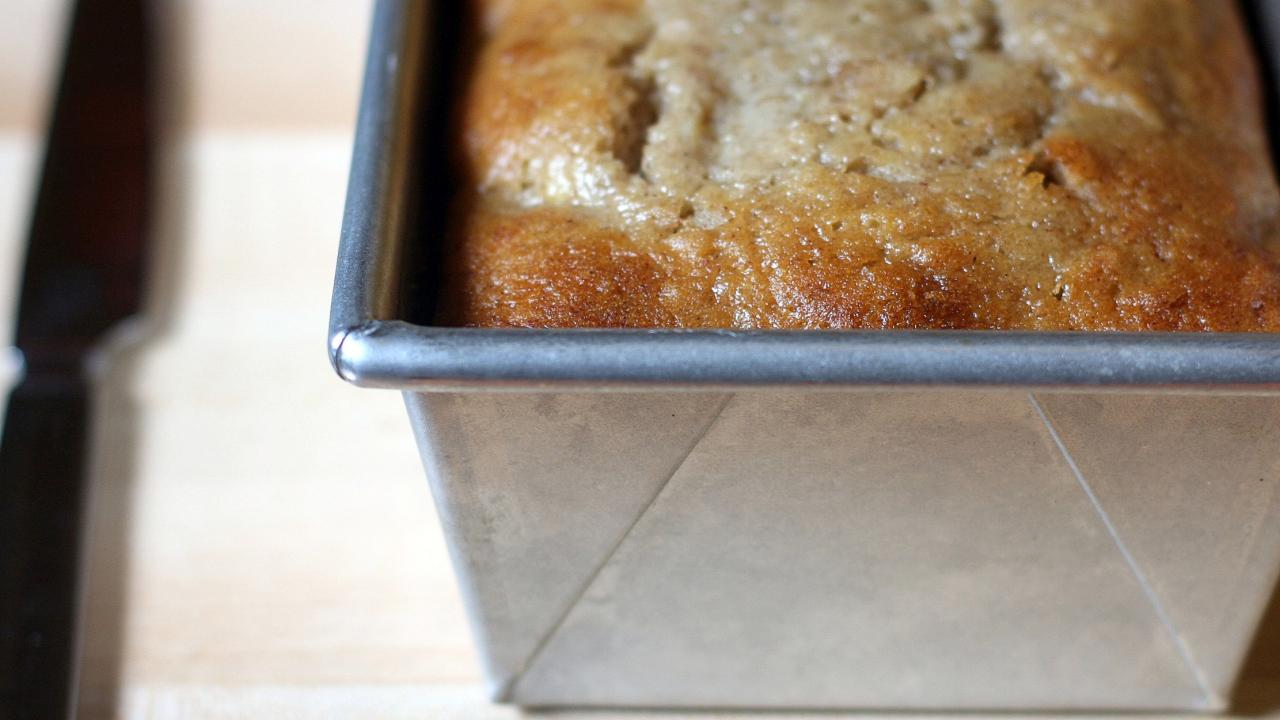
Banana Bread

This is Flour Bakery's banana bread recipe from the Food Network. Whenever I have bananas that are getting old I put them in the freezer, then when it is Christmas time I pull them all out and thaw them to use in large batches of mini banana bread loaves to make for neighbor gifts, and this is the recipe I use. When I make the large batches I can fit 4 times the single recipe in my Bosch, so will add those measurements for multiplying the recipe by 4 in red to make it easier for me or anyone else who wants to make a large batch in the future! 

Flour's Famous Banana Bread

Ingredients:

  • 1 2/3 cups all-purpose flour (6 2/3 cups or 1 1b. 13.4 oz)
  • 1 teaspoon baking soda (4 tsp.)
  • 1/4 teaspoon ground cinnamon (1 Tsp.)
  • 1/2 teaspoon salt (2 tsp.)
  • 1 cup plus 2 tablespoons sugar (4.5 cups)
  • 2 eggs (8 eggs)
  • 1/2 cup oil (2 cups)
  • 3 1/2 bananas, very ripe, mashed (14 mashed bananas)
  • 2 tablespoons creme fraiche or sour cream (1/2 cup)
  • 1 teaspoon vanilla extract (4 tsp)
  • 2/3 cup walnuts, toasted and chopped (optional- I exclude)

Instructions:

Set oven to 350 degrees F. Line the bottom of a loaf pan with parchment paper. 

Sift together the flour, baking soda, cinnamon and salt. Beat sugar and eggs with a whisk until light and fluffy, about 10 minutes. Drizzle in oil. Add mashed bananas, creme fraiche, and vanilla. Fold in dry ingredients and nuts. Pour into a lined loaf pan and bake for about 45 minutes to 1 hour.

Note: I bake mine at 325. I often am baking in mini loaf pans so for shorter time. I just keep an eye on it and haven't tracked how long it takes for those small pans.

Tuesday, December 12, 2023

Banoffee Pie

This is the banoffee pie I brought to Thanksgiving which was requested to be put on the blog as well. So easy and yet so delicious. My friend Merissa shared the recipe with me, which she found at https://www.bakedbyanintrovert.com/epic-banoffee-pie/#mv-creation-364-jtr

Ingredients

For the crust

  • 1 ½ cups graham cracker crumbs 
  • ⅓ cup sugar 
  • 6 tablespoons unsalted butter, melted 

For the filling

  • 2 (13.4-ounce) cans dulce de leche, - SEE NOTE 1 
  • 4 large bananas, sliced 
  • 1 tablespoon lemon or orange juice, optional - SEE NOTE 2
For the whipped cream
  • 1 ½ cups heavy whipping cream 
  • 3 tablespoons confectioners’ sugar 
  • 1 tablespoon clear piping gel, optional - SEE NOTE 3 
  • 1 teaspoon pure vanilla extract 
  • ⅓ cup toffee bits, optional 

Instructions

Make the crust

  1. Preheat oven to 350°F. 
  2. In a medium mixing bowl, combine the graham cracker crumbs, sugar, and melted butter. Stir until the crumbs are evenly moistened. Tightly press the crumb mixture into the bottom and up the sides of a 9-inch pie pan. Bake for 10 minutes. Set aside to cool completely then refrigerate for 30 minutes. 

Make the filling

  1. Using a silicone spatula, carefully spread one can of dulce de leche into the bottom of the prepared crust. 
  2. Toss the bananas in lemon or orange juice then arrange a single layer of banana slices over the dulce de leche. 
  3. Repeat layering with the remaining can of dulce de leche and top with a single layer of bananas. (You may only need 3 bananas depending on how large they are.) 

Make the whipped cream

  1. In a medium bowl, beat the cream, sugar, piping gel, and vanilla together with an electric mixer on medium speed until the sugar has dissolved and the mixture is foamy. 
  2. Turn the speed up to medium-high and beat until soft to medium peaks form, about 3-4 minutes. Take care to not overbeat! 
  3. Spread the whipped cream over the bananas and refrigerate uncovered for at least 3 hours. Garnish with toffee bits before serving. The pie will keep for up to 4 days stored uncovered in the refrigerator. 

Notes

  1. You can find cans of dulce de leche in the Hispanic aisle of the grocery store. Or you can learn how to make it at home.
  2. Lemon or orange juice is helpful if you plan to make the pie ahead of time. The juice will prevent the bananas from browning.
  3. Piping gel is used to make stabilized whipped cream. The whipped cream will hold up longer without separating which is useful if the pie won't be fully consumed in 1 day.

Make ahead tip

  1. The baked crust can be covered tightly and stored in the refrigerator for up to 2 days or frozen for up to 3 months. Thaw overnight in the refrigerator. 
  2. The fully assembled pie can be made up to 1 day in advance. Store in the refrigerator uncovered until ready to serve